Efficient email management is crucial for seamless communication, and Gmail offers a versatile solution by allowing you to use it as an email client for your domain. In this comprehensive guide, we will walk you through the process of setting up POP3 and SMTP in Gmail, empowering you to optimize your email experience.
How to Configuration Webmail to Gmail:

Step 1: Access Your Gmail Account
Webmail to Gmail – Log in to your Gmail account to initiate the setup process.
Step 2: Navigate to Settings
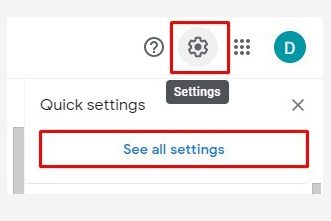
Click on the Cog drop-down menu located in the upper-right corner and select “Settings.”
Step 3: Access the Accounts Tab

Within the Settings, click on the “Accounts” tab to proceed with email setup.
Step 4: Add a Mail Account
Next to “Check mail from other accounts,” click “Add a mail account.” Ensure your browser allows pop-ups for the setup window.
Step 5: Enter Your Domain Email
Enter the email address associated with your domain and click “Next.”
Step 6: Configure POP3 Settings
Enter the POP3 settings for your domain’s email address and click “Add Account.” A confirmation message will appear.
Step 7: Set Up SMTP in Gmail
To set up SMTP, select “Yes” and click “Next Step.” Choose “No” if you do not want to send emails for your domain through Gmail.
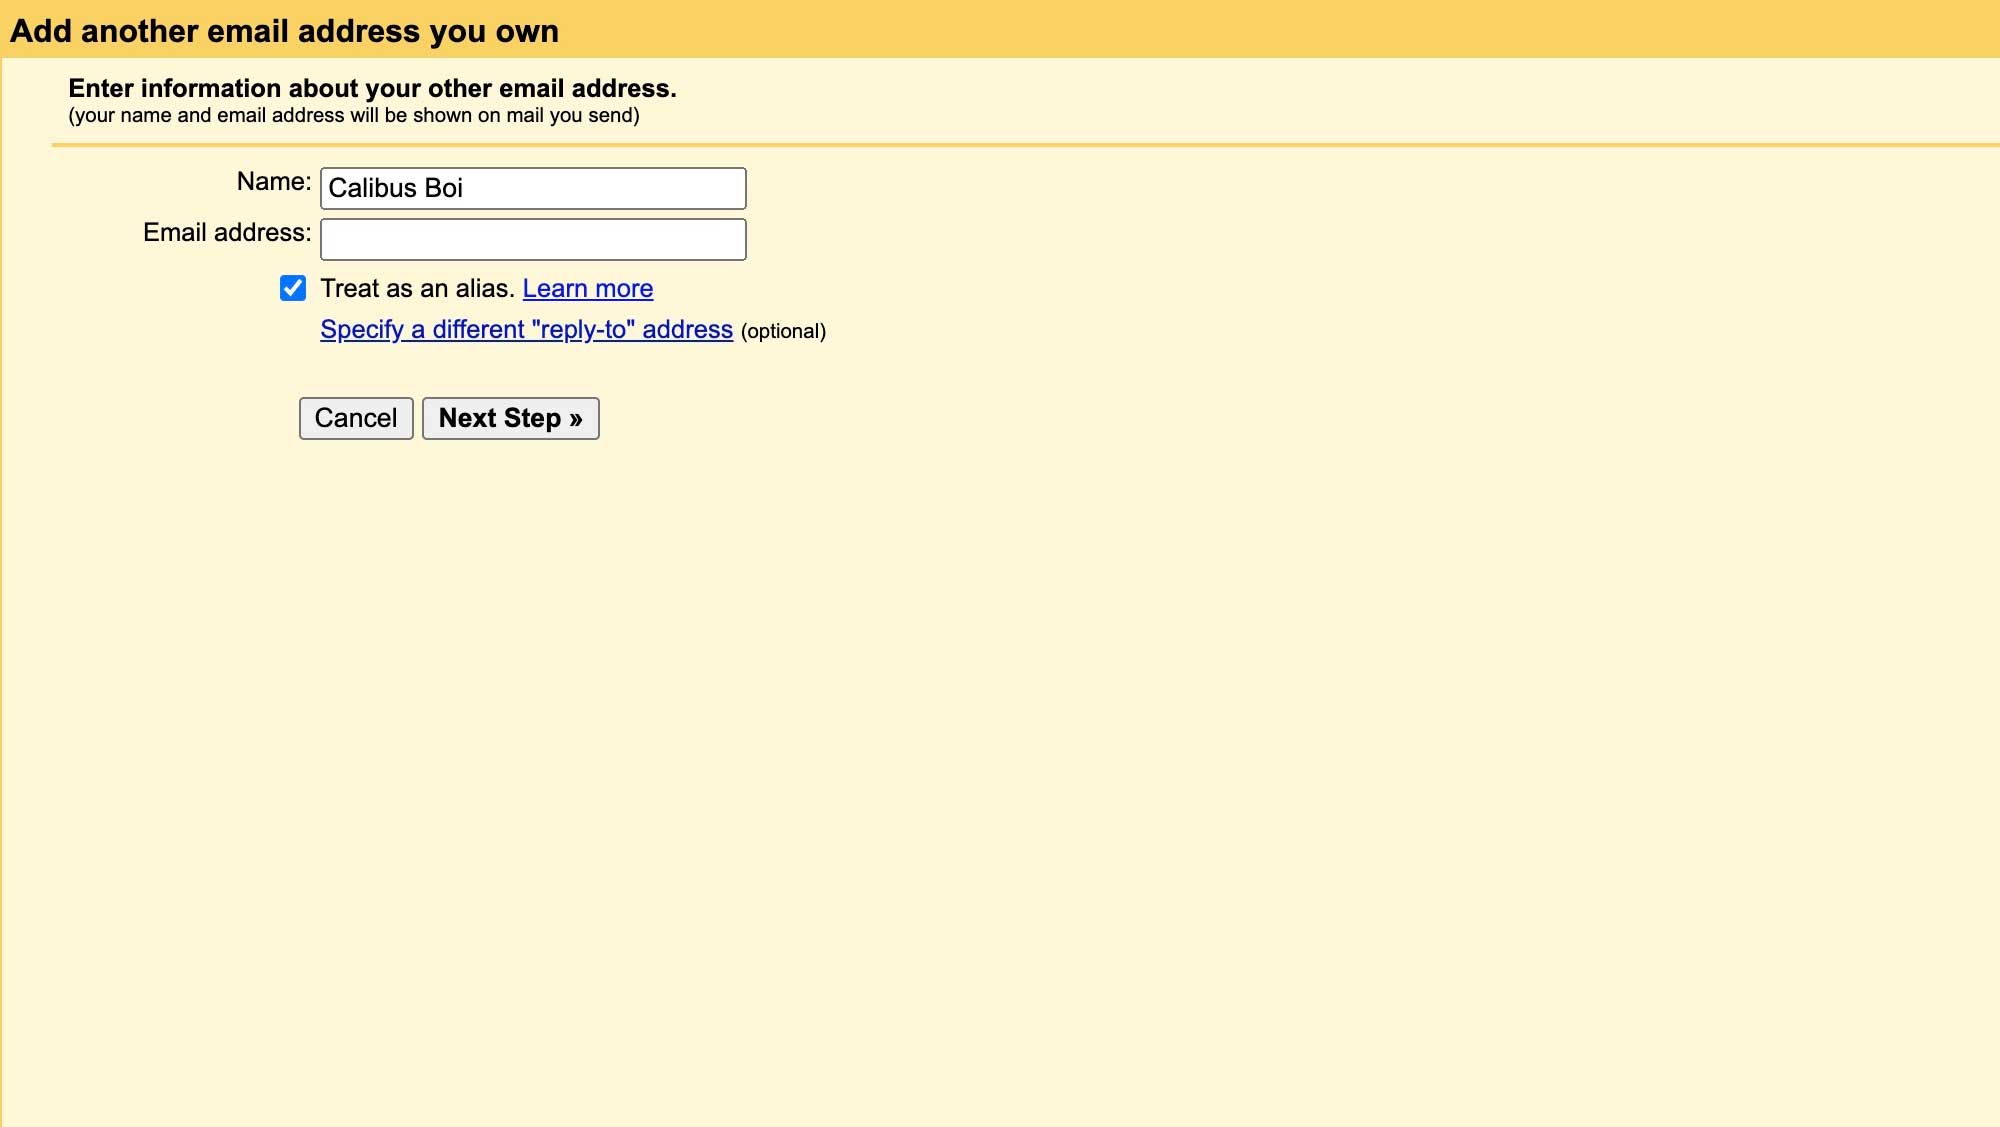
Step 8: Enter Your Name and Alias
Provide your name as you want it to appear when sending emails and ensure the “Treat as an alias” checkbox is checked. Click “Next Step” to proceed.
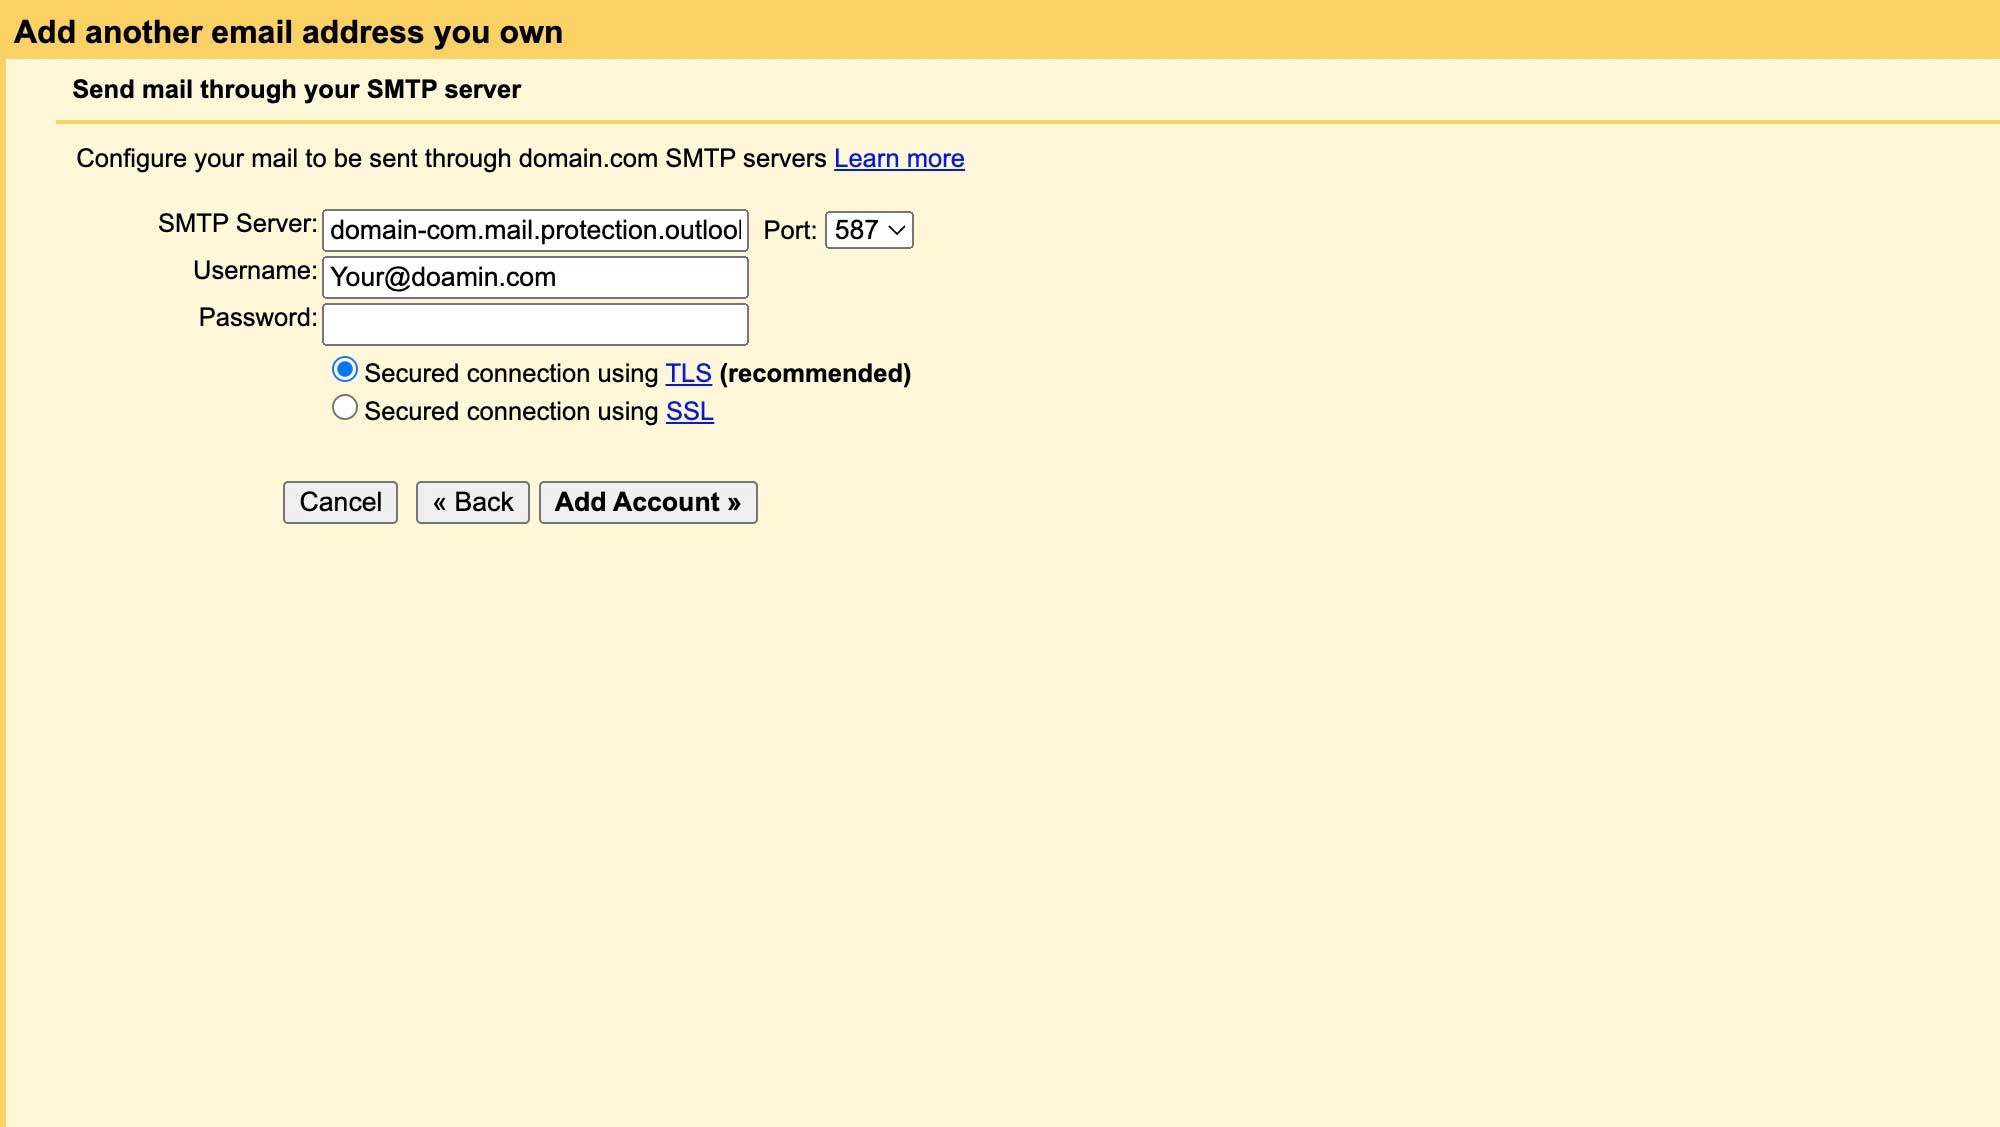
Step 9: Fill in SMTP Settings
On the “Send mail through your SMTP server” page, fill in your SMTP Server (typically “secure###.inmotionhosting.com“), Username (full email address), and Email Password. Click “Add Account.”
Step 10: Verify Your Email
Gmail will send a verification code to your added email address. Click the link in the email or copy/paste the code to the text box and click “Verify.”
Congratulations! Your domain’s email address is now configured for sending and receiving emails through Gmail.
By following these steps, you’ve successfully set up Gmail for both POP3 and SMTP, enhancing your email management capabilities. Streamline your communication and optimize your workflow with this professional guide.