Elevate your online retail game with our detailed WooCommerce tutorial. Follow these seven simple steps to install and configure WooCommerce on your WordPress site, turning it into a fully-functional and customizable e-commerce powerhouse.
Mastering WooCommerce: WooCommerce Installation and Setup
Embarking on your e-commerce journey requires a robust and user-friendly platform, and WooCommerce stands out as a top choice. In this comprehensive tutorial, we’ll guide you through the seven essential steps to install and set up WooCommerce on your WordPress site, ensuring a seamless and powerful online store.
Step 1: WooCommerce Installation Plugin

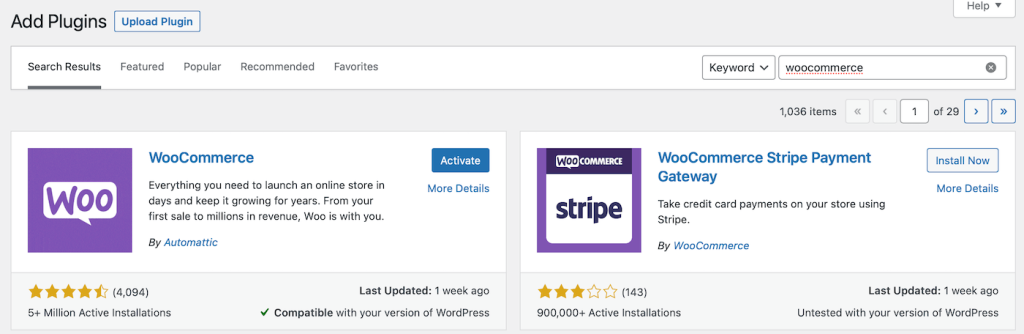
Begin by installing the WooCommerce plugin on your WordPress site. You can download it from the WordPress repository or install it directly from your dashboard. Navigate to Plugins > Add New, search for “WooCommerce,” and click Install Now. Activate the plugin to kick-start the setup process.
Step 2: Access the WooCommerce Setup Wizard
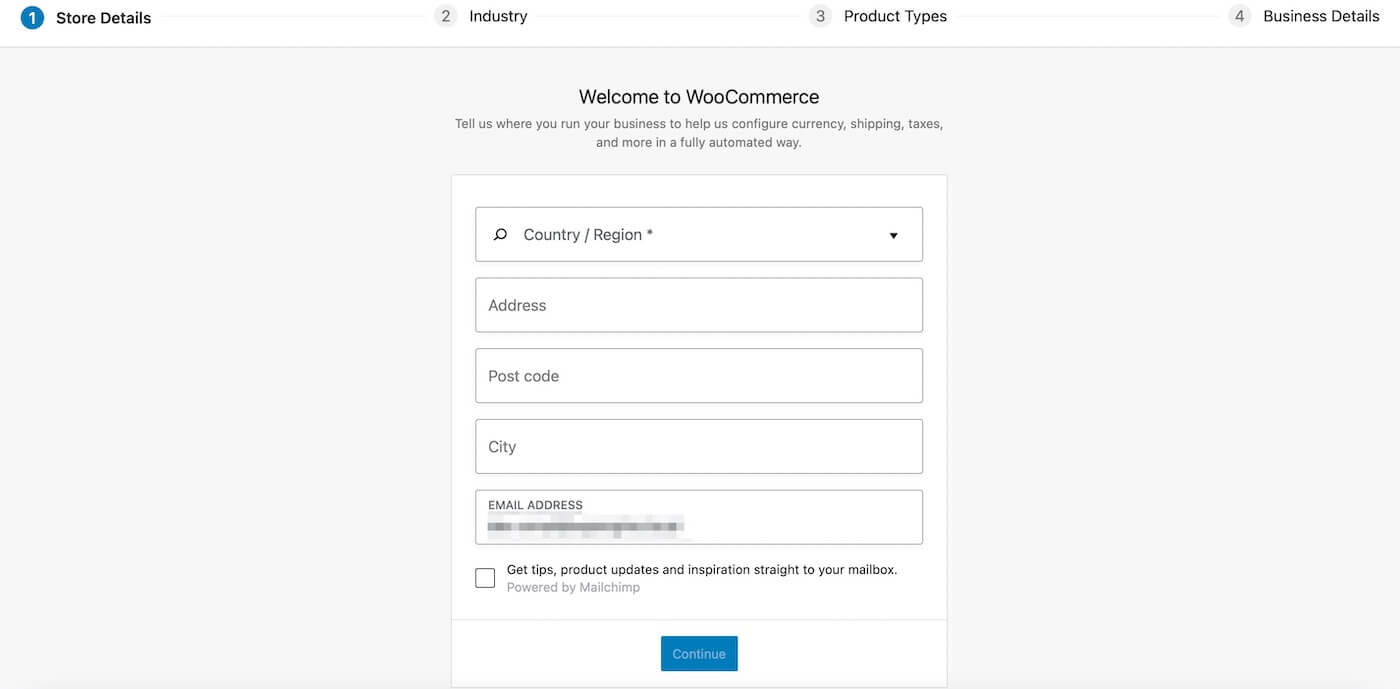
After activation, WooCommerce prompts you to run the setup wizard. While optional, we recommend going through it to configure key settings. Enter your store details, industry information, product types, and business details to tailor WooCommerce to your specific needs.
Step 3: Add Products to Your WooCommerce Store
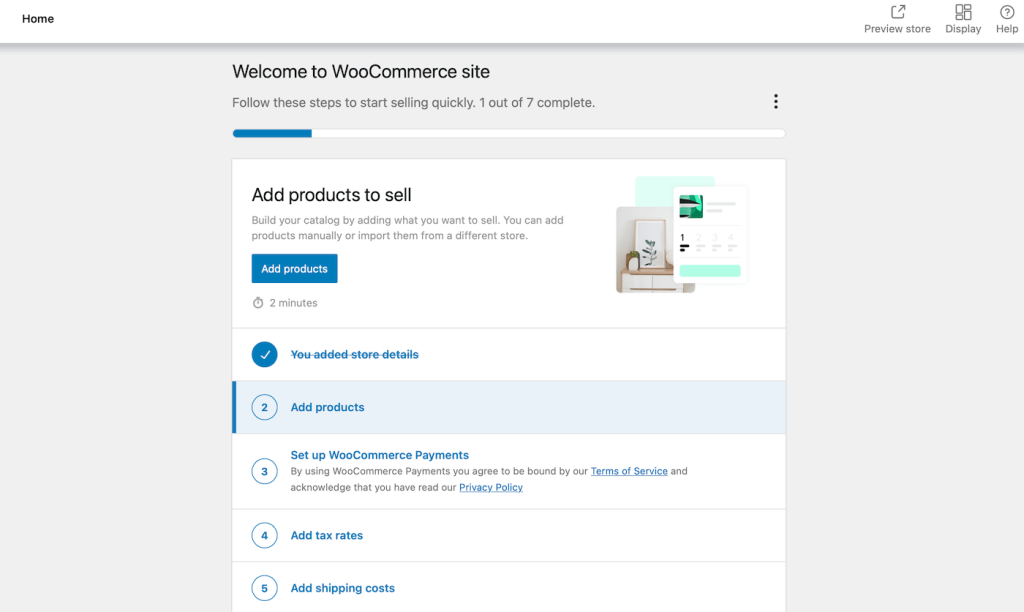
With WooCommerce set up, start adding products to your store. Navigate to the Products tab and choose “Add New.” Specify product details, including type (physical, digital, variable), and customize information such as prices, stock details, and attributes. Preview your product to ensure a polished appearance.

Step 4: Choose Your WooCommerce Payment Processors
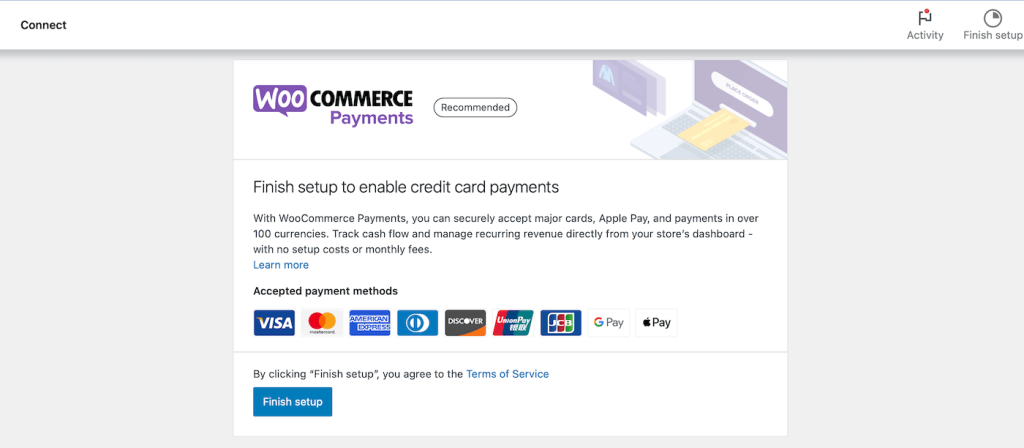
Determine your preferred payment options by navigating to the Payments tab in your dashboard. Set up WooCommerce Payments for credit card transactions, or explore additional payment processors through extensions. Select options that align with your business model and preferences.
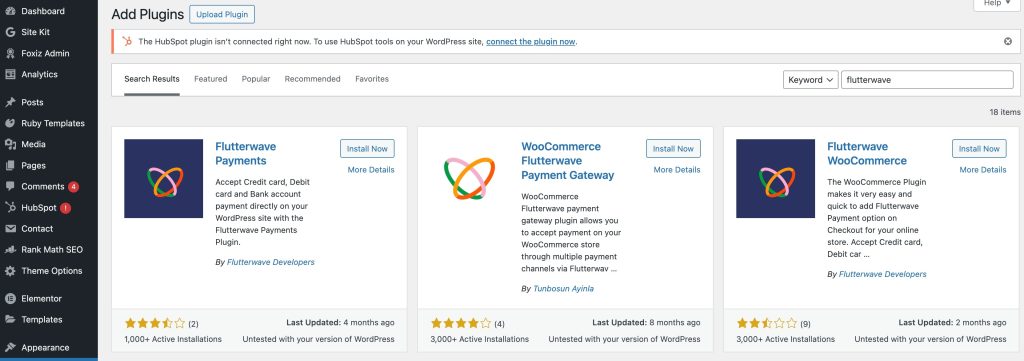
Noted: if you are from Nigeria or other parts of Africa, you can add Paystack or Flutterwave Plugin by clicking on ‘Add New Plugin’ and search.
Step 5: Add Tax Rates and Configure Shipping Options
Configure tax rates by choosing from the WooCommerce Tax partner or setting up taxes manually. Set shipping costs based on your preferences, offering different rates for preferred zones or free shipping. Explore shipping label printing options using tools like sendcloud or ShipStation.
Step 6: Review Additional Add-Ons
Optimize your WooCommerce store with optional add-ons. Explore tools such as MailPoet for follow-up emails, Google Listing & Ads for enhanced visibility, and marketing extensions like TikTok and Mailchimp. Install and activate any desired add-ons to enhance your store’s functionality.
Step 7: Personalize Your WooCommerce Store
Personalize your store by customizing its appearance. Navigate to the “Personalize your store” section in the WooCommerce setup page. Import products for a preview, create a custom homepage, upload a logo, and enter a store notice. Verify business details if needed and start managing WooCommerce transactions.
Conclusion
Congratulations! You’ve successfully mastered installing and setting up WooCommerce for your online store. This step-by-step guide has equipped you with the knowledge to configure crucial settings, add products, choose payment processors, and personalize your store. Now, your WooCommerce-powered website is ready to embark on a successful e-commerce journey.