
Introduction: In the ever-evolving landscape of online retail, establishing a robust and user-friendly e-commerce platform is crucial for success. WooCommerce, a WordPress plugin, has emerged as a powerhouse, offering a seamless integration for turning your website into a fully functional online store. In this comprehensive guide, we will delve into the intricacies of adding products to your WooCommerce store, ensuring that you harness the full potential of this versatile e-commerce solution.
Section 1: Setting the Stage
Before we embark on the journey of adding products to your WooCommerce store, it’s essential to ensure that your website is powered by WordPress and the WooCommerce plugin is successfully installed and activated. If you haven’t set up your online store yet, follow these steps:
- Install WordPress:
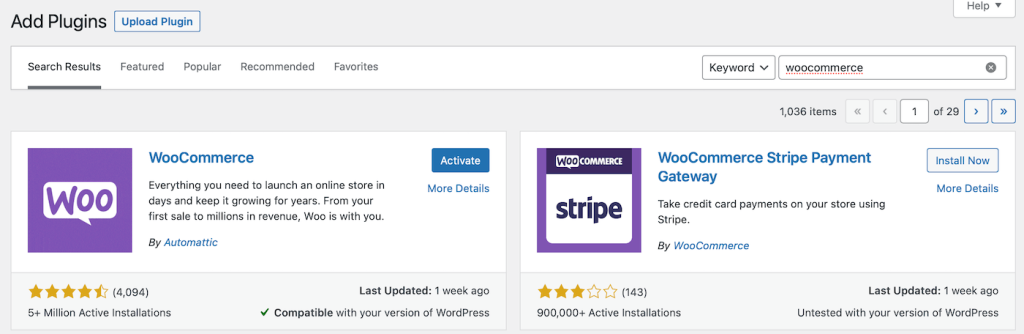
Begin by installing WordPress on your web hosting server. You can download the latest version from the official WordPress website and follow the installation instructions. - Install and Activate WooCommerce:
Navigate to the WordPress dashboard, locate the ‘Plugins’ tab, and click ‘Add New.’ Search for WooCommerce, install the plugin, and activate it. Follow the setup wizard to configure your store settings. —> See WooCommerce Installation Post
Section 2: Navigating the WooCommerce Dashboard
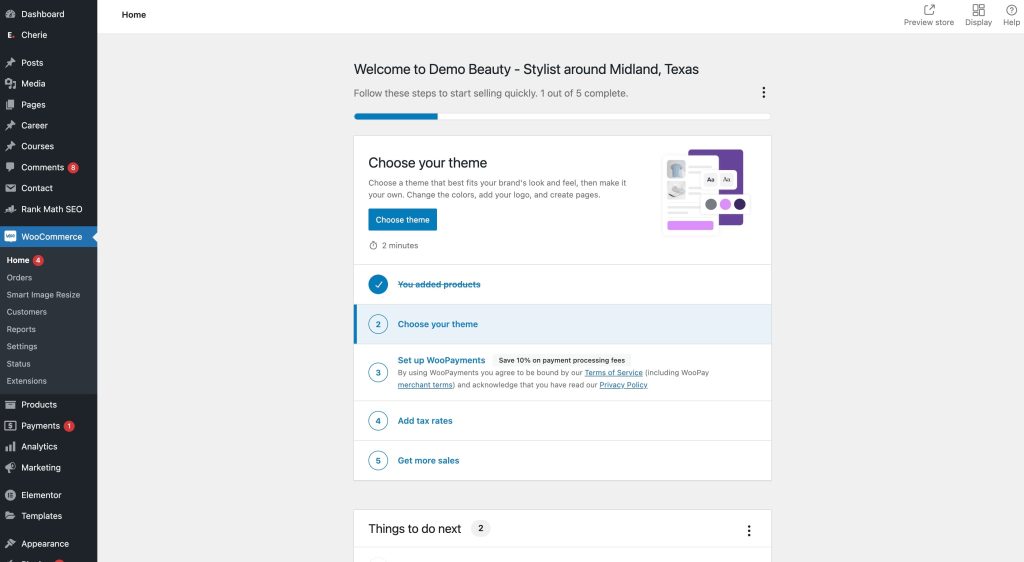
Now that your WooCommerce store is up and running, let’s explore the dashboard and get acquainted with its features.
- Accessing the WooCommerce Dashboard:
Log in to your WordPress dashboard and find the ‘WooCommerce’ tab on the left sidebar. Click on it to access the WooCommerce dashboard. - Understanding the Main Tabs:
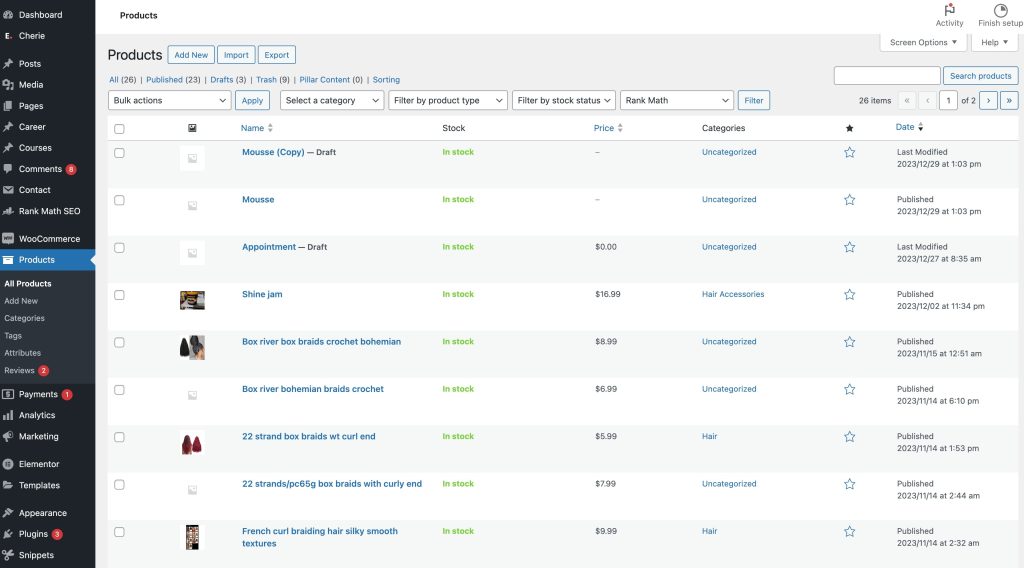
Familiarize yourself with the main tabs such as ‘Orders,’ ‘Products,’ ‘Marketing,’ and ‘Reports.’ For our focus, click on the ‘Products’ tab.
Section 3: Adding a New Product
The heart of your WooCommerce store lies in its products. Let’s walk through the process of adding a new product step by step.
- Click on ‘Add Product’:
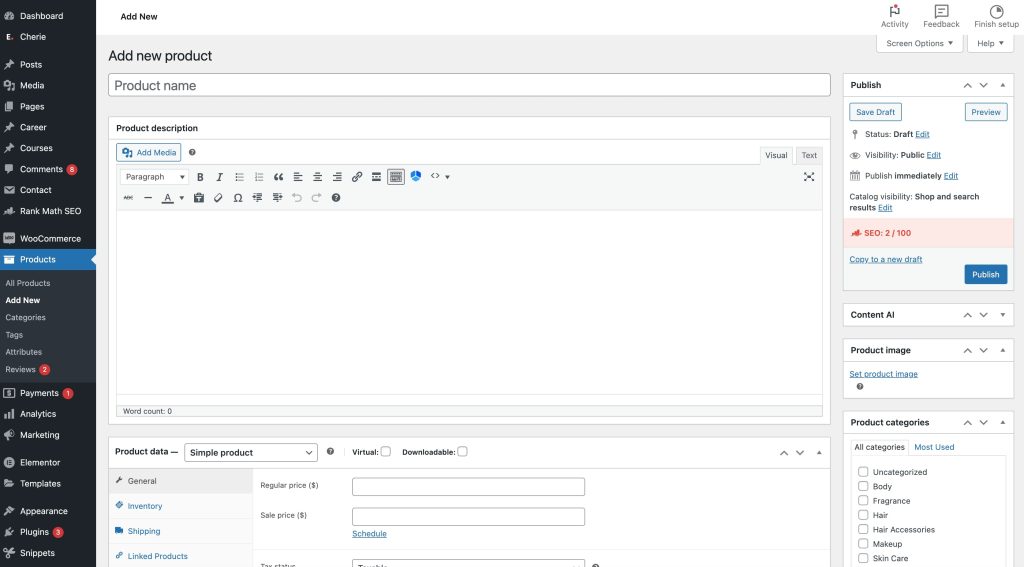
Once in the ‘Products’ tab, click on the ‘Add Product’ button to start creating a new product listing. - Product Title and Description:
Begin by entering a descriptive and captivating title for your product. Use the product description field to provide detailed information about the item, emphasizing its features, benefits, and uniqueness. - Product Data:
Scroll down to the ‘Product Data’ section, where you’ll input vital information such as price, inventory, and shipping details. Use the ‘General’ tab to set the regular price and sale price if applicable. - Inventory Management:
If your product has variations (e.g., size, color), switch to the ‘Variations’ tab to create and manage them. Track your inventory by enabling stock management and setting stock status. - Shipping Information:
In the ‘Shipping’ tab, define the weight, dimensions, and shipping class of your product. Specify shipping costs and choose the appropriate shipping method. - Product Attributes:
Utilize the ‘Attributes’ tab to add specific attributes to your product, making it easier for customers to filter and find what they need.
Section 4: Adding Product Images and Gallery
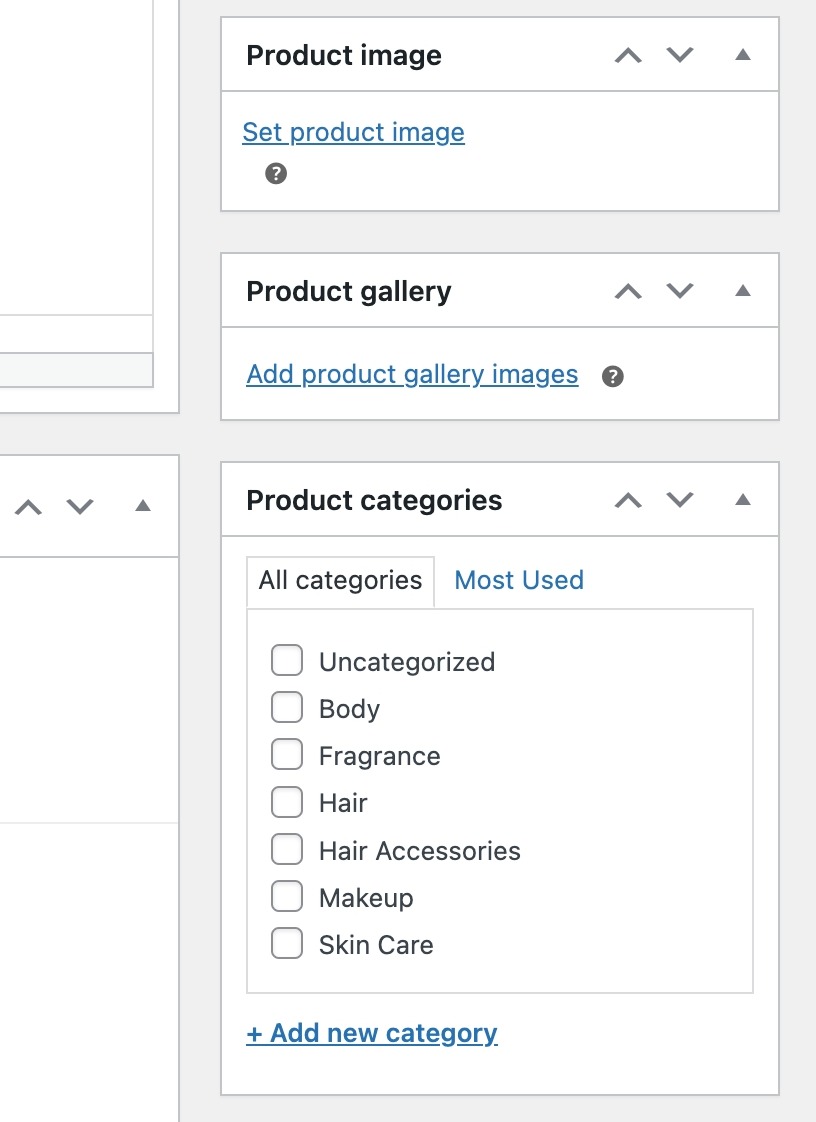
Enhance the visual appeal of your products by adding high-quality images and setting up a gallery.
- Feature Image:
Upload a captivating feature image that represents your product. This image will be displayed prominently on your product page and in search results. - Product Gallery:
Expand the ‘Product Gallery’ section to add multiple images showcasing different angles and features of your product. This provides customers with a comprehensive view before making a purchase.
Section 5: Product Categories and Tags
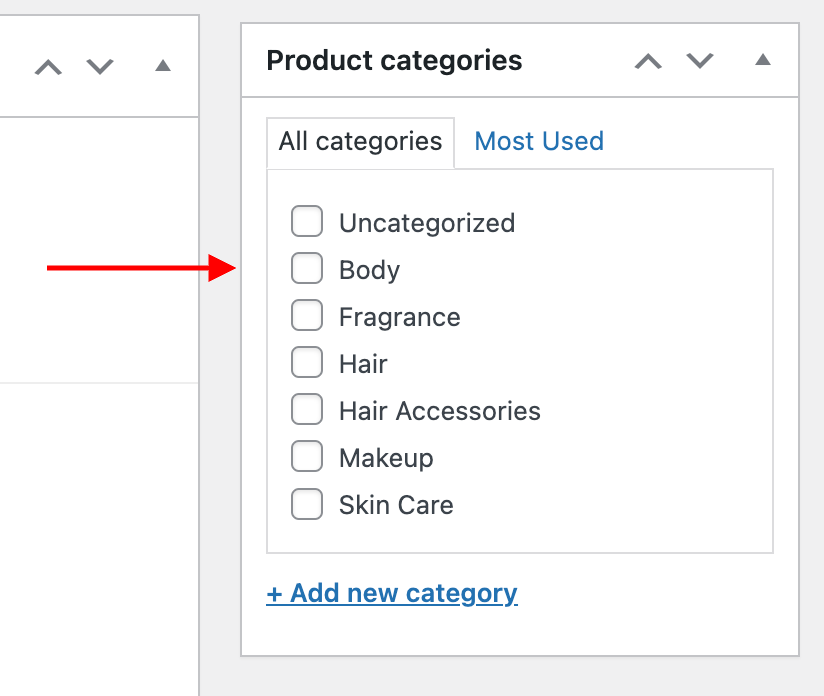
Organize your products systematically by assigning them to appropriate categories and tags.
- Create Categories:
Navigate to the ‘Products’ tab and select ‘Categories.’ Create relevant product categories that align with your store’s structure. - Assign Categories to Products:
When adding or editing a product, assign it to one or more categories to ensure that customers can easily navigate and discover related items. - Tags for Precision:
Tags provide additional granularity to your product organization. Add relevant tags to products for more precise filtering and search functionality. See Above Image
Section 6: Review and Publish
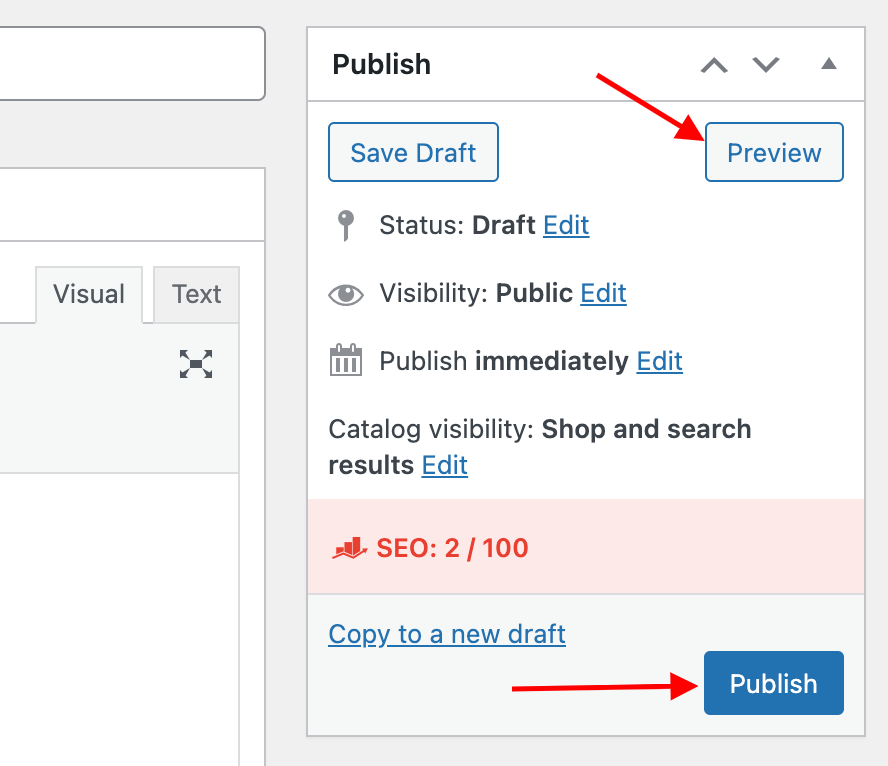
Before making your product live, take a moment to review and ensure all details are accurate.
- Preview Your Product:
Click on the ‘Preview’ button to see how your product will appear on the front end. Check for any formatting issues, missing information, or image discrepancies. - Set Product Status:
In the ‘Publish’ box, choose whether to publish your product immediately, schedule it for later, or save it as a draft for further editing. - Monitor Product Analytics:
Once your product is live, monitor its performance using the built-in analytics tools provided by WooCommerce. Track sales, customer engagement, and other relevant metrics.
Section 7: SEO Optimization for Products – Optional
Optimizing your product listings for search engines is essential for attracting organic traffic. Incorporate the following SEO best practices:
- Focus Keyword:
Identify a primary keyword relevant to your product and incorporate it naturally into the product title and description. - Meta Description:
Craft a compelling meta description that succinctly summarizes your product and includes relevant keywords. This snippet appears in search engine results and influences click-through rates. - Permalink Structure:
Customize your product URL (permalink) to include the product name or relevant keywords. A clean and concise URL structure contributes to better search engine rankings.
Conclusion:
Congratulations! You’ve successfully added a product to your WooCommerce store, bringing your online business one step closer to success. Remember to regularly update your product listings, analyze customer feedback, and stay abreast of the latest e-commerce trends to continually optimize your store for a seamless and enjoyable shopping experience. By mastering the art of product addition and optimization, you’re well on your way to building a thriving online presence with WooCommerce.